Understand the front space
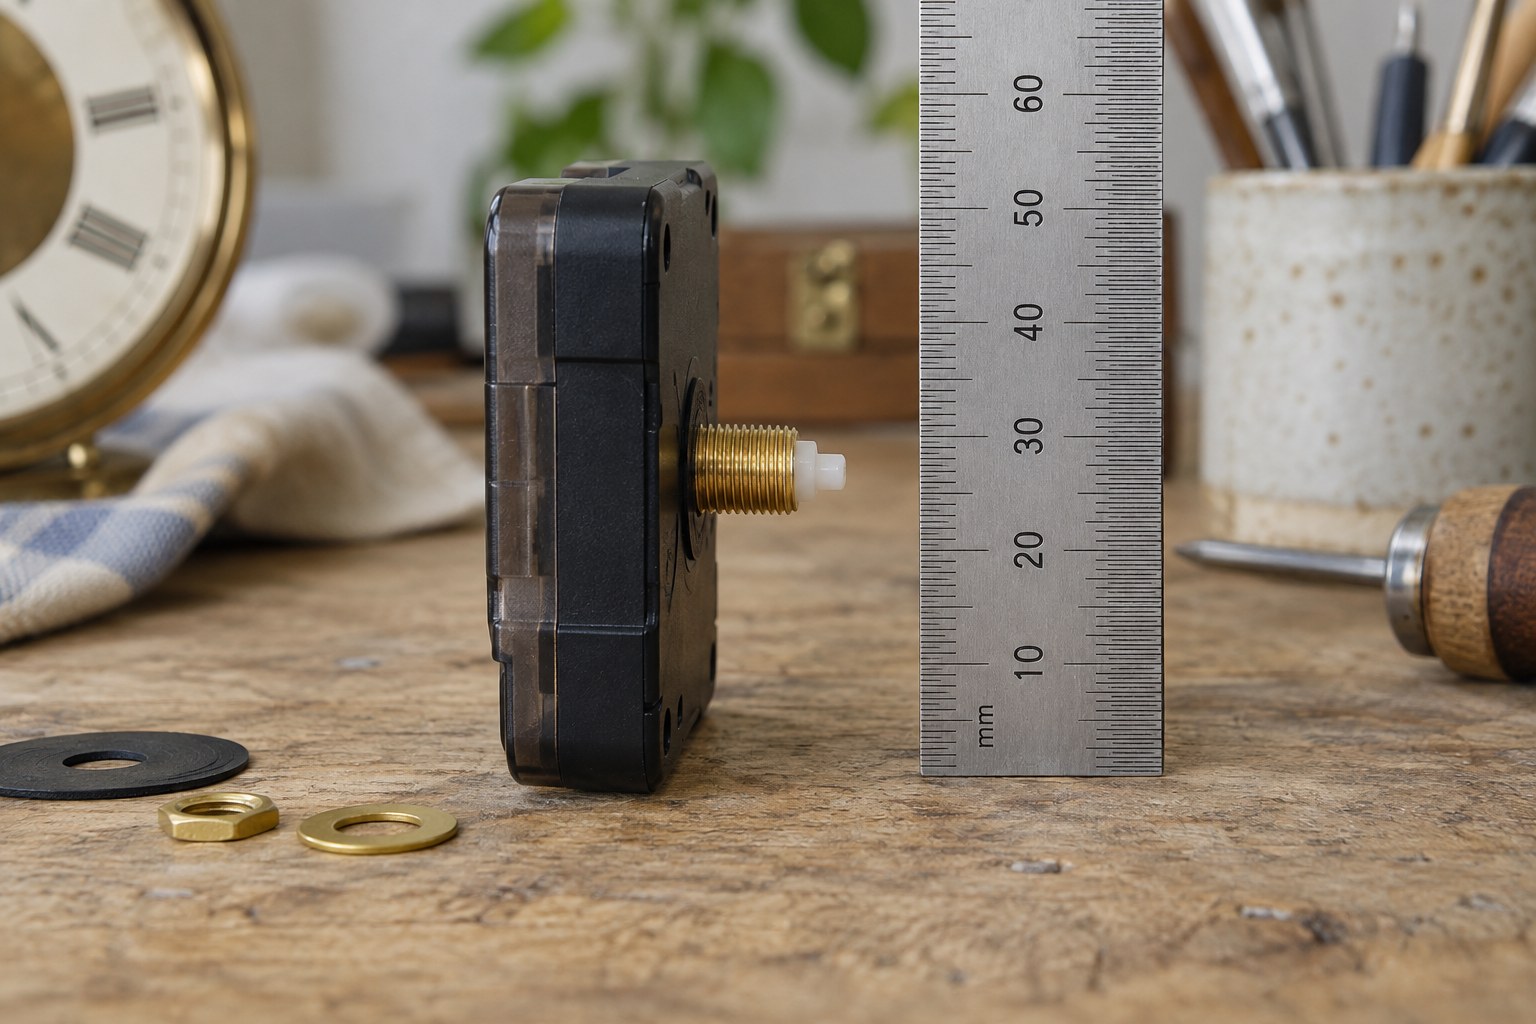
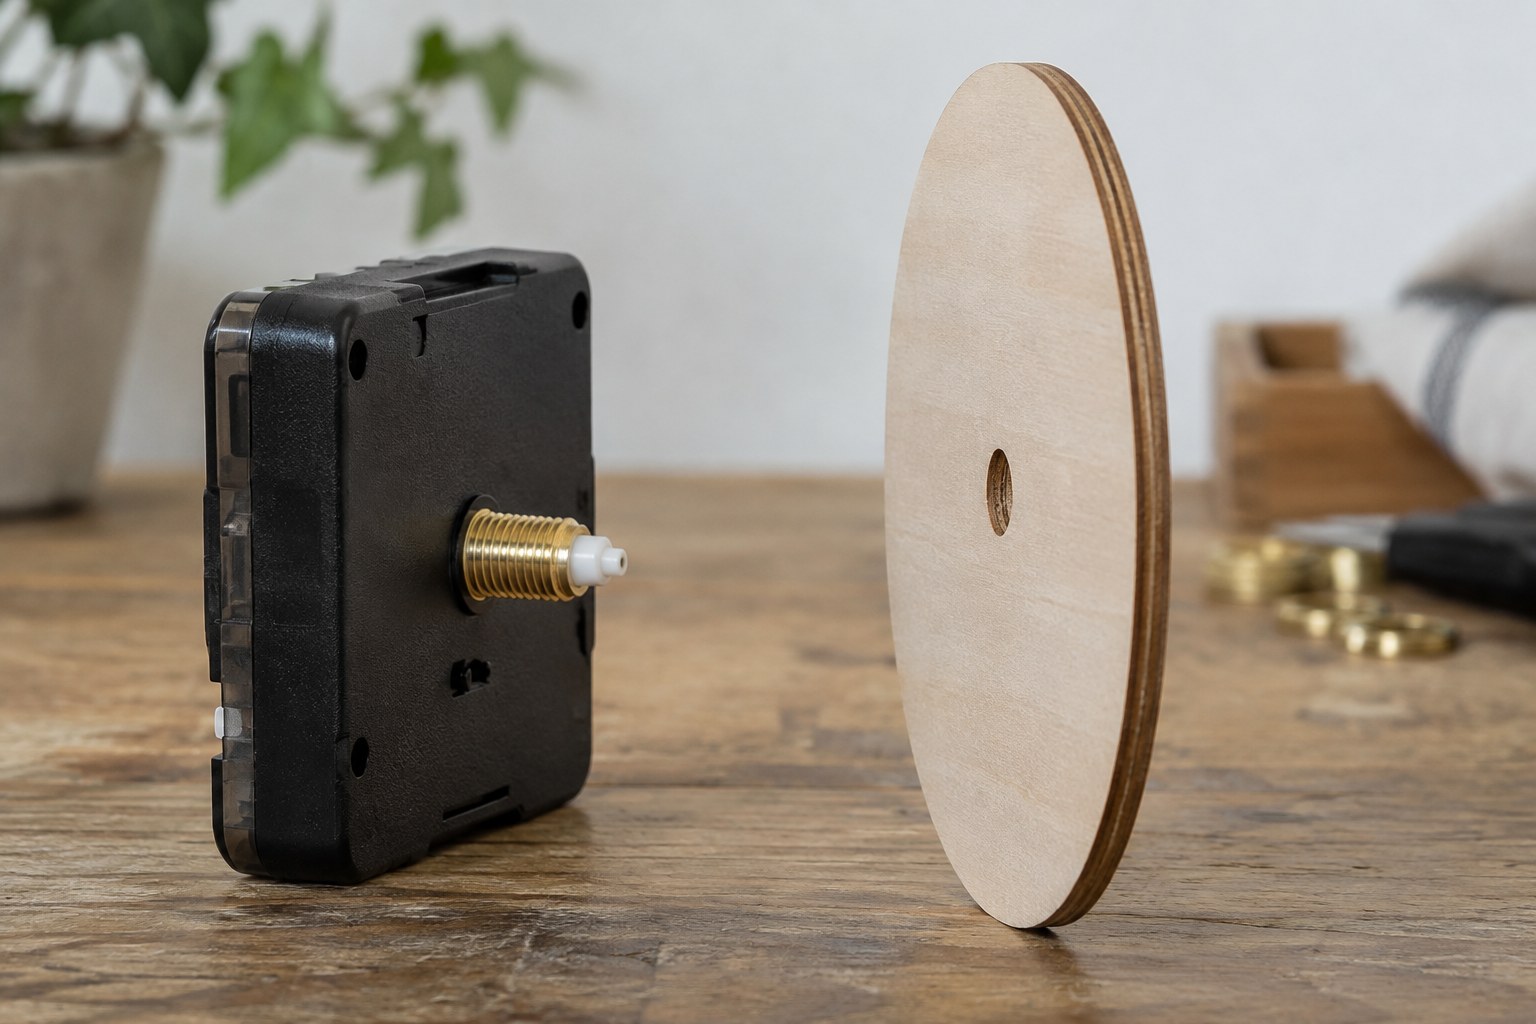
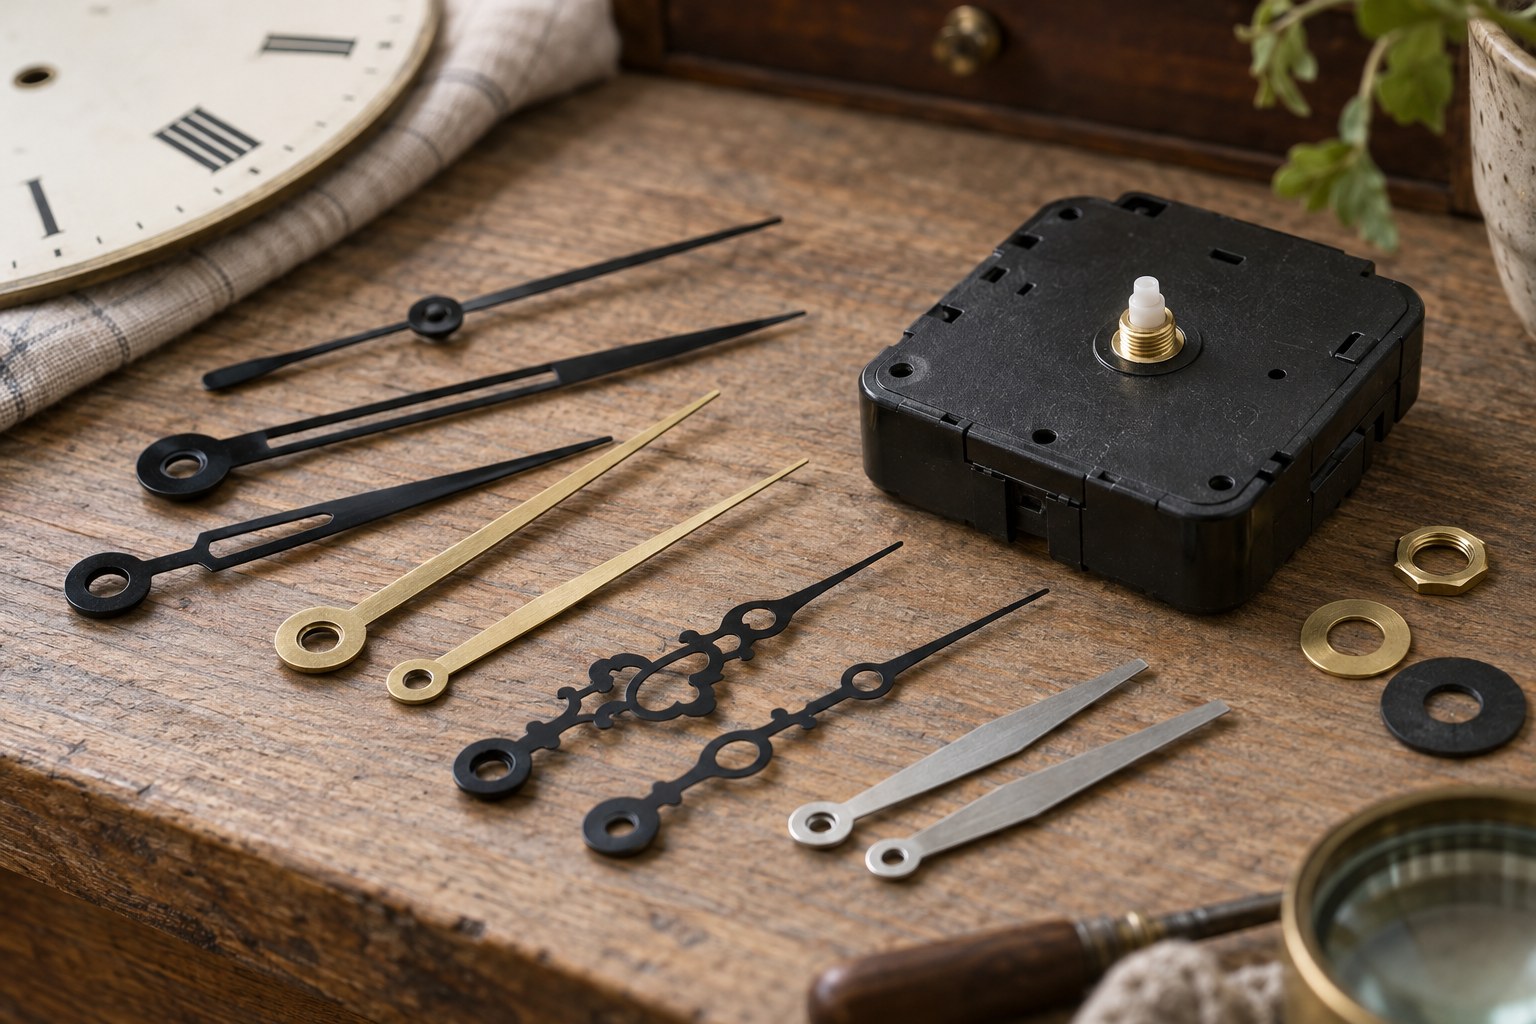
A quartz movement's total shaft length affects how far the hand stack projects beyond the dial. The space under a glass or acrylic cover therefore matters alongside dial thickness. On a modern battery project, compare the intended movement drawing, hand arrangement and inside depth of the cover before ordering parts.
Measure to the nearest internal obstruction, not just the highest point of a domed lens. A bezel can overhang the dial edge, while a cover may become shallower near its sides. Draw a simple side view showing the dial, hand levels and cover so these relationships are visible together.
Check without pressing
Assemble only according to the supplied instructions, with the battery removed. Support the clock without loading the hands and look across the dial from the side. The hands should not touch each other, the dial, raised markers or the cover. Closing the front should not require pushing a hand downward.
Use the movement's permitted setting control to bring the hands through different positions. Do not force them directly or assume all movements allow the same setting direction. If the cover must remain open for this inspection, repeat the visual check once it is properly seated, without trapping fingers or tools inside.
Watch a real cycle
A stationary check can miss a slight curve or an obstruction at one part of the dial. After assembly, let the clock run securely in its intended orientation and inspect it at several readings. A hesitation at the same position is a reason to stop and investigate, not to fit a stronger battery.
Remove power before making any further adjustment. If the chosen components cannot provide clear movement with the cover correctly fitted, return to the component specification. Leaving the lens loose or bending a delicate hand to disguise an incompatible stack creates a different fault rather than solving the original one.