Check the material first
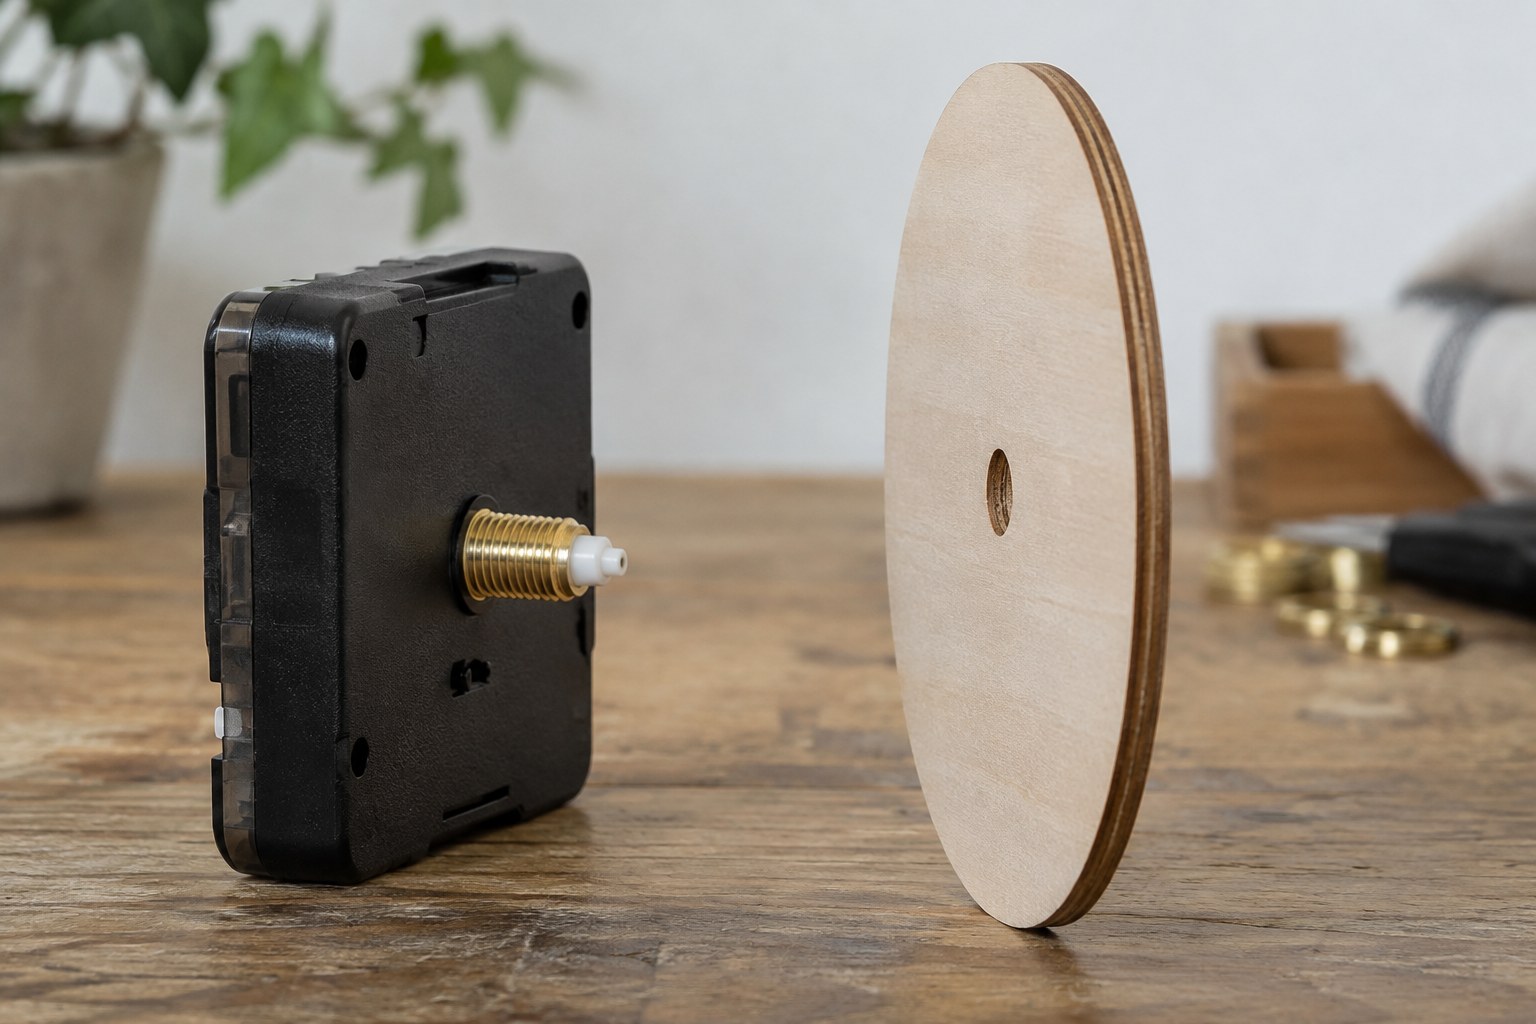
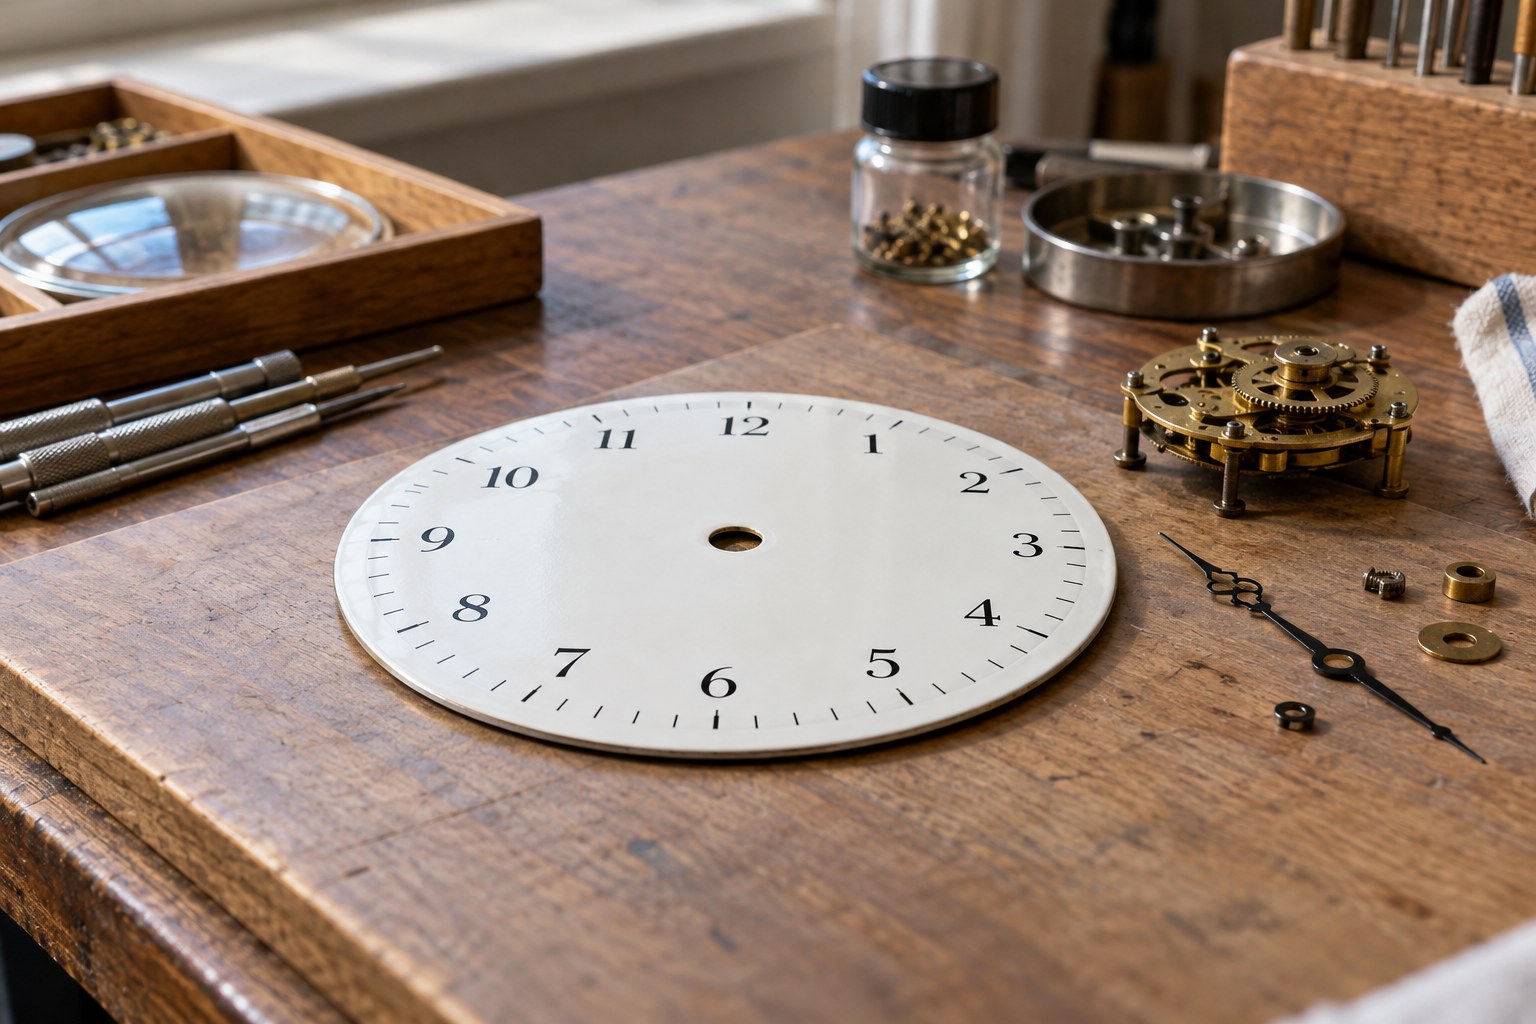
Place a new dial blank on a clean, level surface and look along its edge. If it rocks or bows before assembly, the fixing nut is unlikely to make it sound. Select a suitable flat blank or resolve the material problem before attaching the movement, rather than expecting pressure at the centre to correct the whole face. Keep this work to modern craft materials. An old painted or printed dial can be fragile and should not be pressed, heated or wetted to flatten it. A conservator or suitable clock repairer can advise when the original face is part of the clock's historical interest.
Avoid an uneven build-up
An applied design can introduce lumps, curled edges or unequal thickness. Test the proposed material and attachment method on a spare piece first. Follow the adhesive maker's instructions if adhesive is appropriate, and let the assembly cure fully away from the movement before checking its shape again.
The centre opening and the rim deserve particular attention. A raised edge near the hand stack may rub, while a trapped corner under a bezel can distort the face. Keep the design within the kit's intended construction rather than adding layers until the original fixing no longer has a predictable fit.
Inspect in the final orientation
Once assembled according to the movement instructions, look across the face from several sides. Check that the dial is supported as intended and that tightening has not created a shallow dish around the centre. Stop if the face changes shape or the hardware appears to be drawing it into position.
Run the clock securely upright after checking the hand clearances. A paper face that looked flat on the bench may reveal a loose edge when vertical. Correct the support or replace the unsuitable material before hanging the clock; the moving hands should not be used to push an uneven surface out of their way.