Set a dependable centre
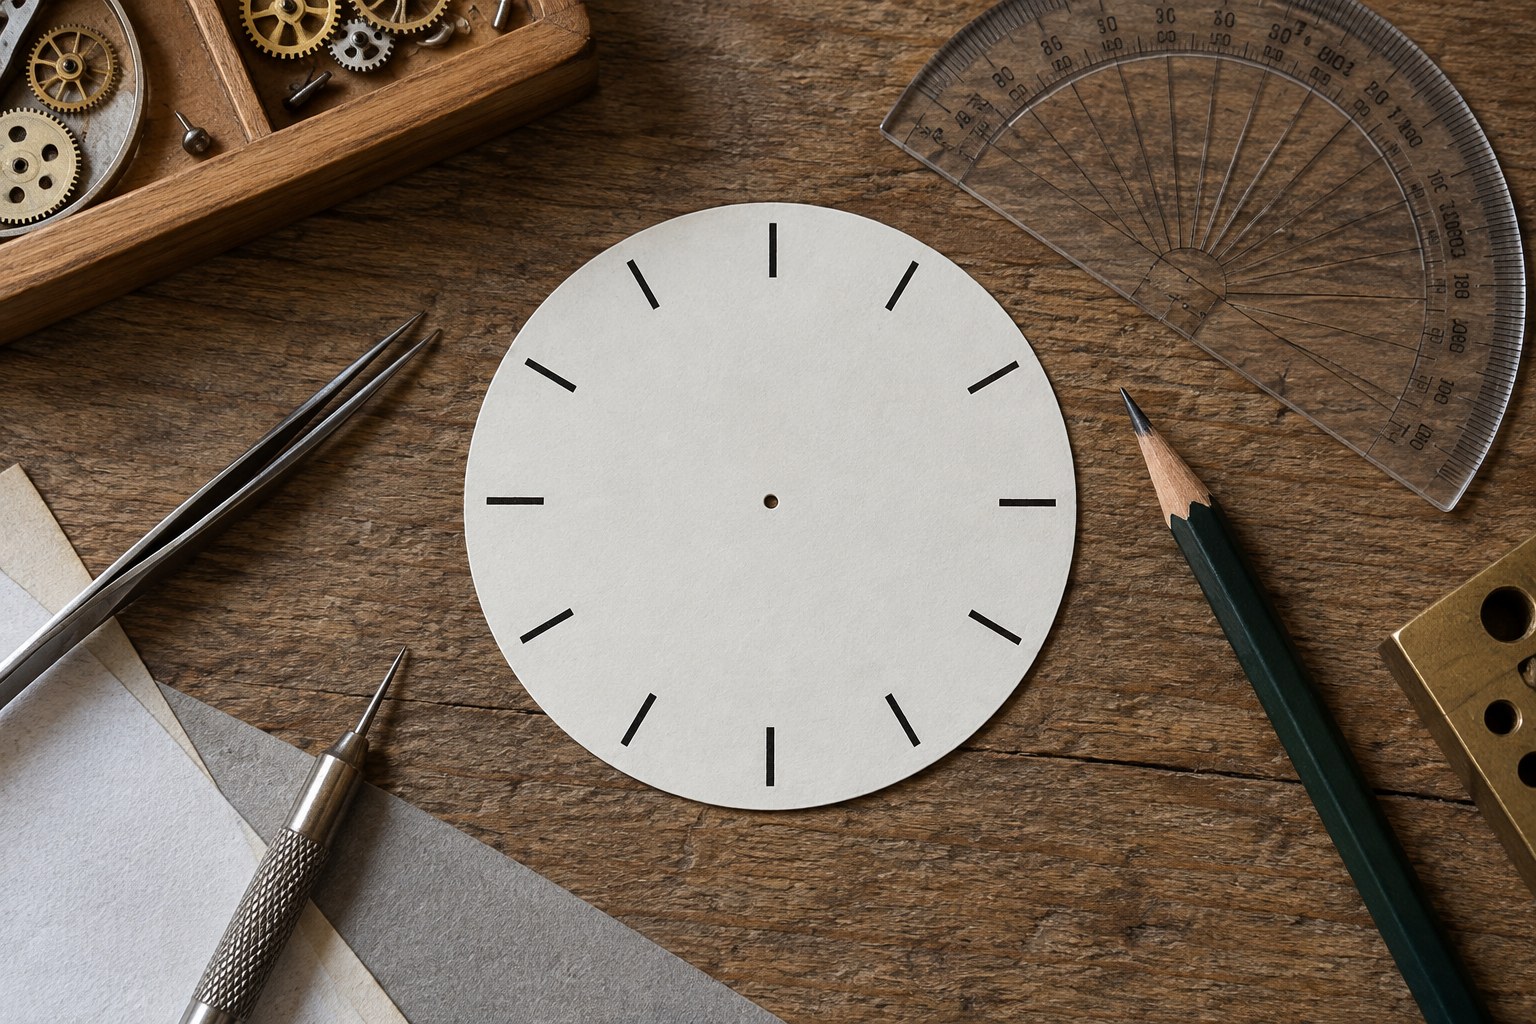
Start on paper with a circle representing the visible face. Mark its centre accurately and draw light vertical and horizontal reference lines. These establish twelve, three, six and nine before you add the intermediate positions. Check the circle against the intended bezel so no marker will be partly hidden.
Keep this layout separate from the clock during planning. There is no benefit in repeatedly marking an existing dial while the design is still changing. A spare print or tracing also gives you a record if the final material shifts or a transfer needs to be repeated.
Divide the circle consistently
Twelve equal positions divide a full circle into thirty-degree steps. Use a protractor or a drawing programme with accurate rotation to place the remaining centres. Measure from the same centre every time; stepping around the edge by eye tends to accumulate small errors before you return to the top.
For simple bars or dots, keep their distance from the centre consistent. Numbers need a further visual check because their shapes have different widths. Their placement should follow the same circular logic without forcing every character into an identical rectangular box that makes the spacing look awkward.
Compare with the hands
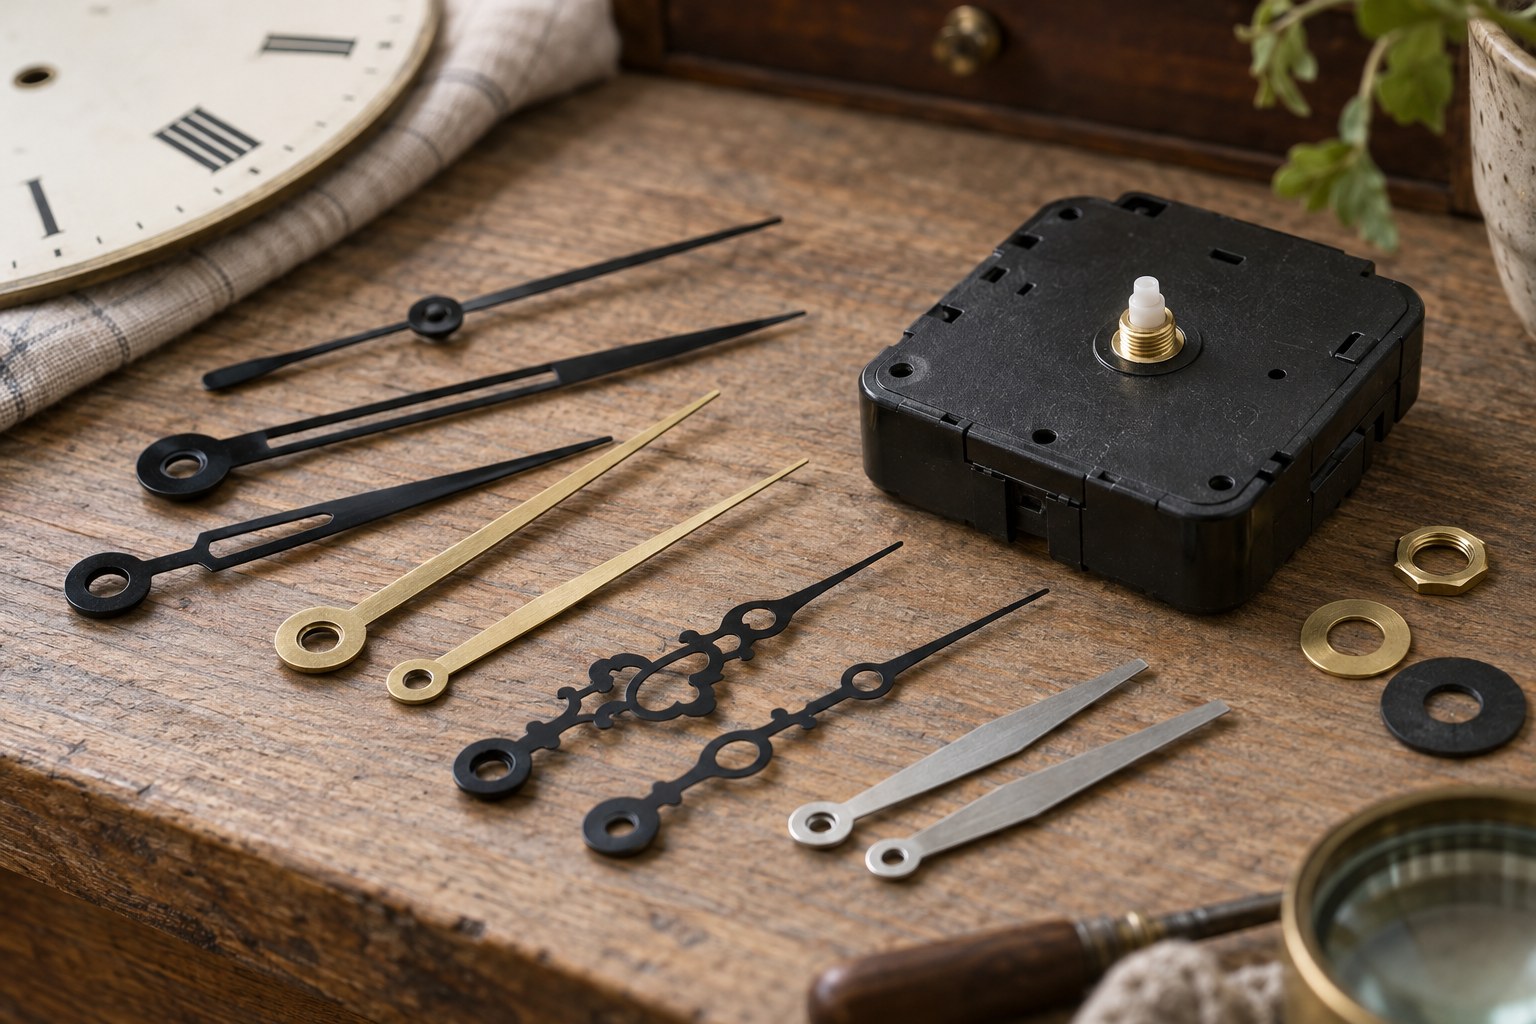
Lay paper versions of the intended hands over the finished layout. Check that the minute tip approaches the minute scale clearly and that the shorter hand points unambiguously towards the hour positions. Leave enough open area around the centre for the hand fittings and their movement.
Review from a distance
View the full-size mock-up from the intended reading distance before transferring anything. Small drafting inaccuracies may disappear at that distance, while an overly dense ring of markers can become more obvious. Once the arrangement works, retain the master drawing and use a controlled transfer method appropriate to a new craft dial, never an irreplaceable original face.